The usefuless of this setup guide will vary based on your personal preferences for how your text editor should function, but it should help with the initial setup of Sublime Text. Let’s get started.
Sublime Text is a sophisticated text editor for code, markup and prose. You’ll love the slick user interface, extraordinary features and amazing performance. – Sublime Text Website
1. Install Package Control
The first thing you need to do in Sublime is install Package Control.
A full-featured package manager that helps discovering, installing, updating and removing packages for Sublime Text 2. It features an automatic upgrader and supports GitHub, BitBucket and a full channel/repository system. – Package Control Website
2. Install Packages
To install a package, bring up the Command Palette (cmd+shift+p
on Mac, or Tools > Command Palette in the Menu Bar), type
“Install Package,” select that option, type in the package name, and hit
enter when you find the one you want.
There is a large list of packages available, but these are the ones that I use currently. Make sure you read about each package to determine if it would be useful to you before installing it.
- AdvancedNewFile
- Alignment
- ApplySyntax
- AutoFileName
- Backbone.js
- BracketHighlighter
- CoffeeScript
- Color Highlighter
- Emmet
- Git
- Github Tools
- Haml
- JsMinifier
- Modific
- MoveTab
- Nettuts+ Fetch
- New from Selection
- Sass
- SchemeCycler
- Schemr
- SideBarEnhancements
- SplitScreen
- sublime-github
- SublimeTODO
Themes
If you’re not in love with the default theme that Sublime Text provides, there are plenty of nicely-designed themes available. Here’s a list of some of the most popular ones:
“Themes” refers to the actual user interface theme, not the editor color scheme, which is referenced below.
Color Schemes
Here are some popular color schemes for Sublime Text (and other editors):
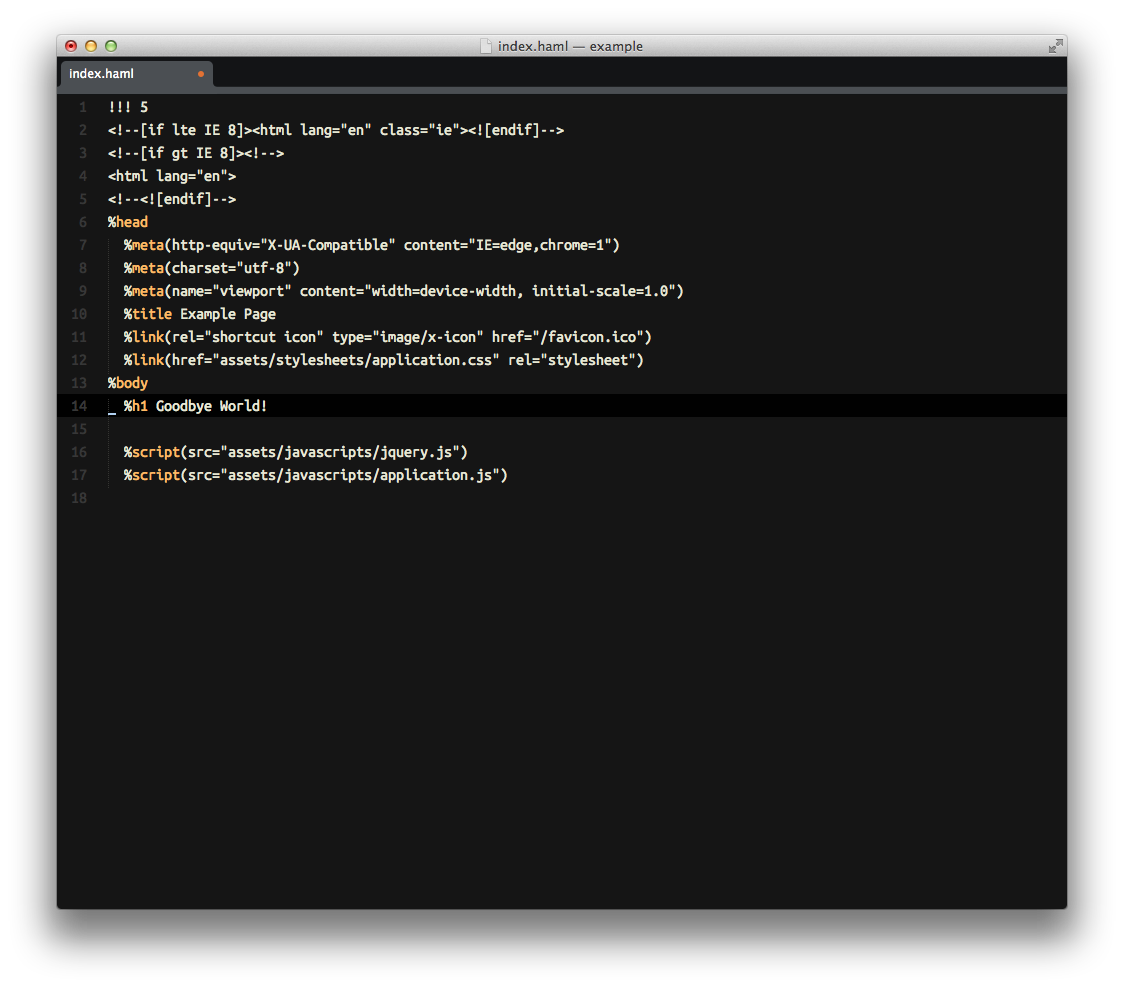
Here’s what my current setup looks like:
 In this screenshot, I’m using the Flatland
theme, Boron color
scheme, and Ubuntu
Mono at 16pt. I’m frequently updating my theme,
color scheme, and font, though, so this will have probably already changed
while you’re reading this post.
In this screenshot, I’m using the Flatland
theme, Boron color
scheme, and Ubuntu
Mono at 16pt. I’m frequently updating my theme,
color scheme, and font, though, so this will have probably already changed
while you’re reading this post.
3. User Preferences File
Sublime Text does not have a GUI interface for anything. It will seem strange at first, but it’s incredibly powerful and extensible to customize your settings. For reference, you can see my User Preferences file below.
Depending on what packages, fonts, and color schemes you have installed, the settings below may throw an error. The error will let you know which line is causing the problem.
Placing these in the Settings - Default file will result in them
being overriden each time you update Sublime Text to a new version. That’s
why you put them in Settings - User.
{
  "auto_complete_commit_on_tab": true,
  "bold_folder_labels": true,
  "caret_style": "solid",
  "color_scheme": "Packages/Color Scheme - Default/Boron.tmTheme",
  "create_window_at_startup": false,
  "ensure_newline_at_eof_on_save": true,
  "file_exclude_patterns": [".DS_Store"],
  "folder_exclude_patterns": ["bin", ".bundle", ".git", ".sass-cache", "tmp"],
  "font_face": "Ubuntu Mono",
  "font_options": ["no_bold", "subpixel_antialias"],
  "font_size": 16.0,
  "highlight_line": true,
  "highlight_modified_tabs": true,
  "ignored_packages": [],
  "line_padding_bottom": 3,
  "line_padding_top": 3,
  "scroll_past_end": true,
  "tab_size": 2,
  "theme": "Flatland.sublime-theme",
  "translate_tabs_to_spaces": true,
  "trim_trailing_white_space_on_save": true,
  "vintage_start_in_command_mode": true,
  "wide_caret": true,
  "word_wrap": true
}
Tip: If you want to know what a particular setting does,
open up the Settings - Default file and search for the command.
There are extensive comments for each setting.
4. Initial Interface Setup
I like to make some initial visual tweaks to the interface. This is purely personal preference, but I find it much nicer to work in Sublime Text this way.
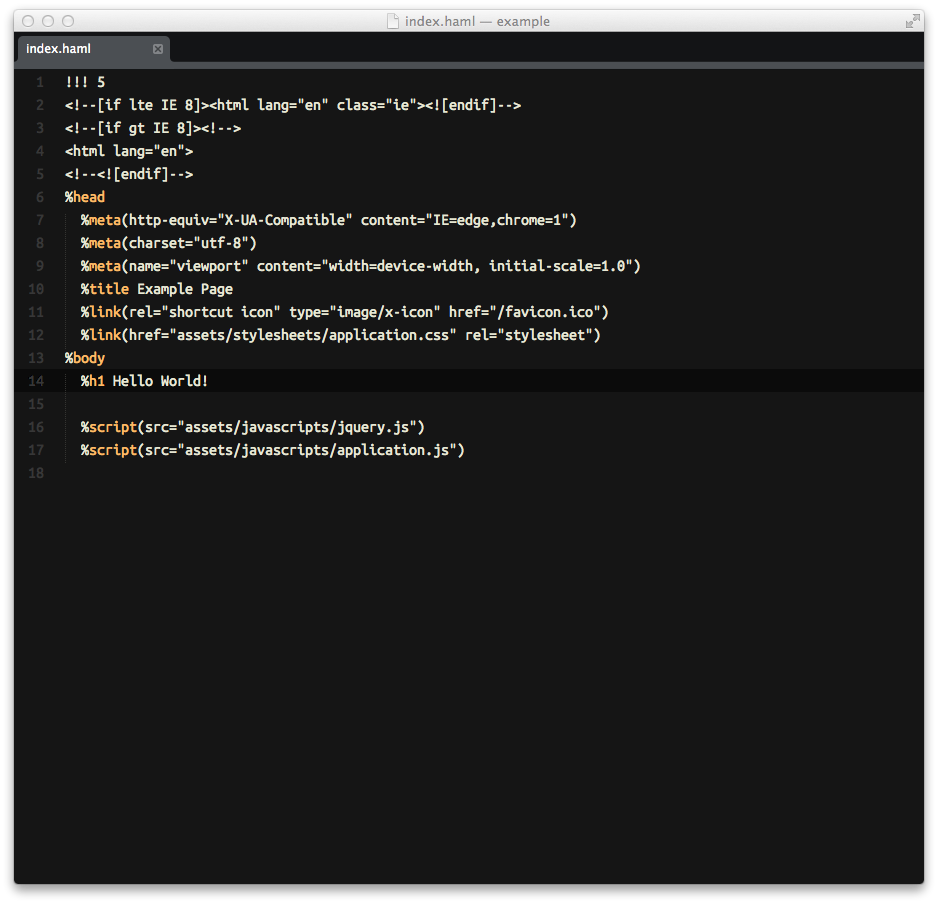
This is what a freshly-installed copy of Sublime will look like:
 or, as I like to, the Command Palette. Bring up the Command Palette
with cmd+shift+p, and start typing 'toggle'.
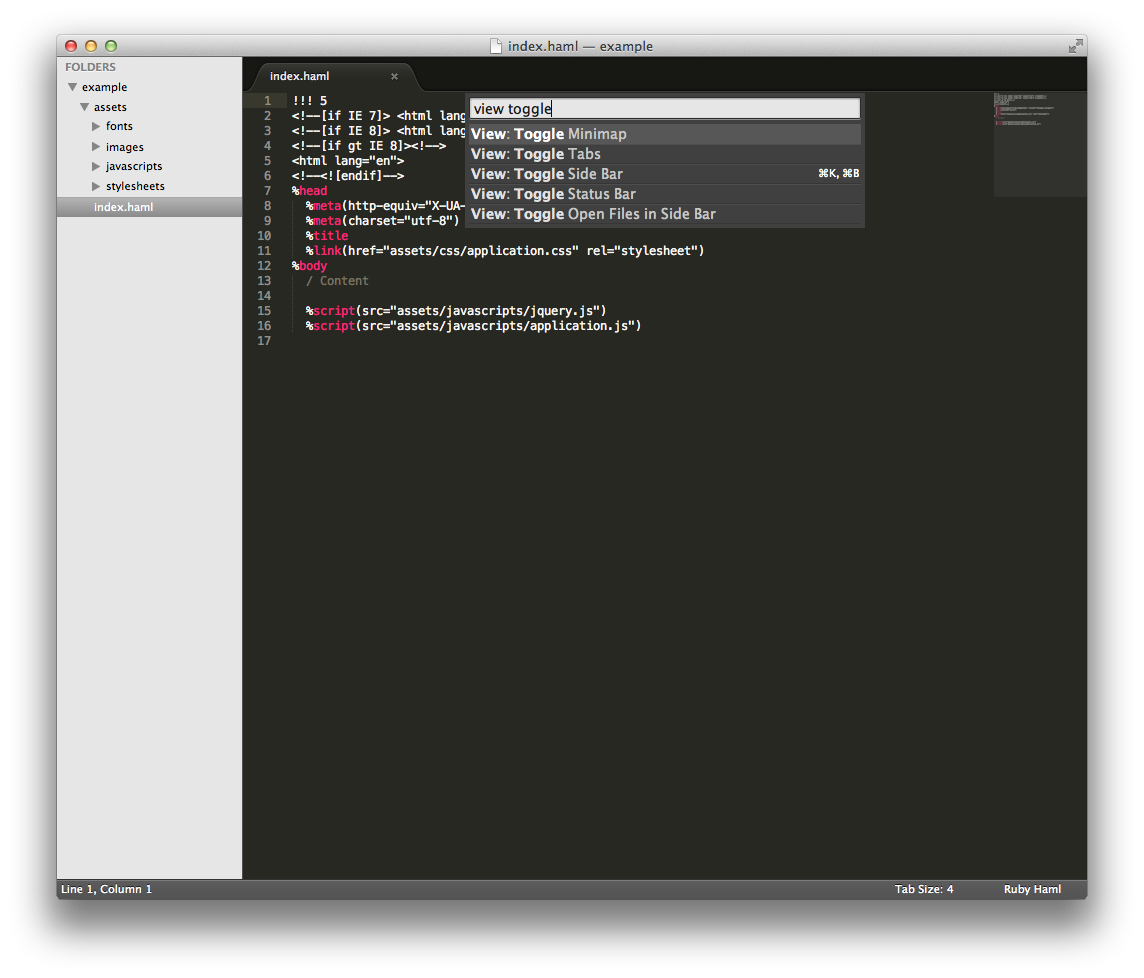 You can see the options available to us in the Command Palette.
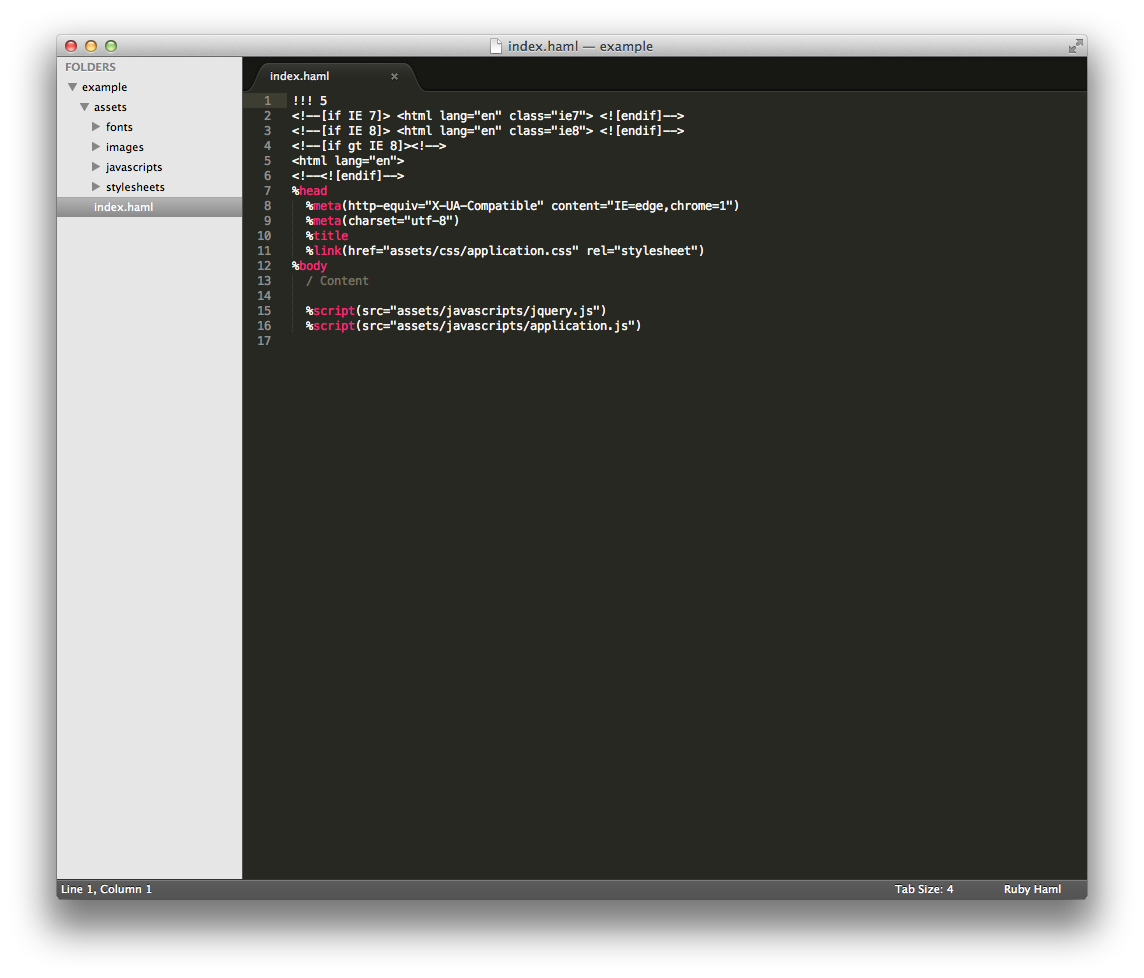
Hit enter, and the minimap will now be hidden:
Repeat the process for the status bar and the sidebar.
You can hit the cmd+k,cmd+b keyboard shortcut to toggle the
sidebar.
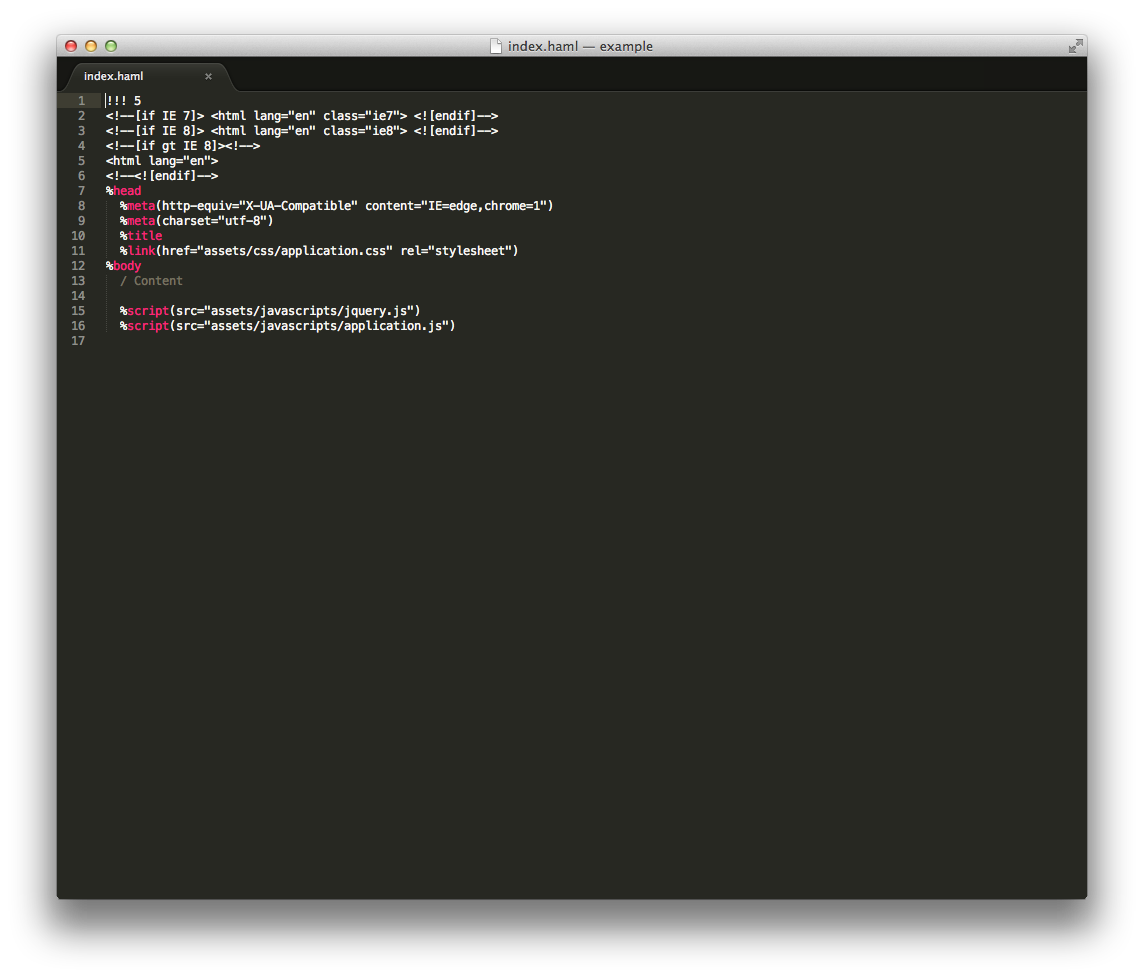
We now have a much cleaner interface to work with. If you need to access any of the interface elements we removed, you can do it quickly via the Command Palette.
5. Advanced Setup
Those are the first initial steps I take when setting up Sublime. Now, let’s go through the more advanced setup options.
Layout
Sublime Text offers you the ability to arrange your files in various
split-screen layouts. This is useful when, say, you’re working on both an HTML
file, as well as the associated CSS file. You can access the layouts by going
to View > Layout.
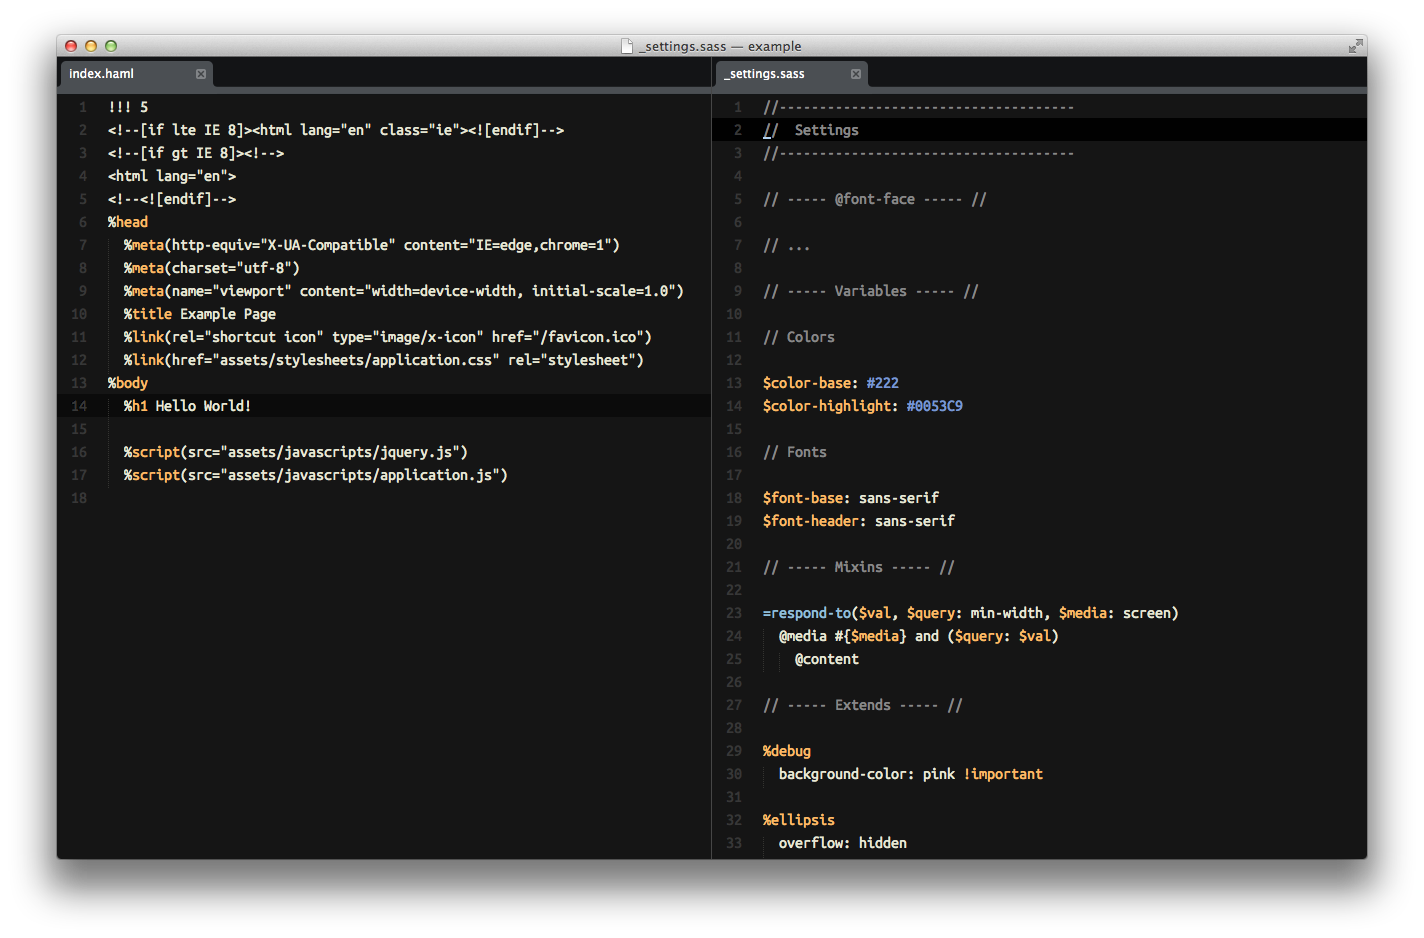 This is the Columns: 2 layout.
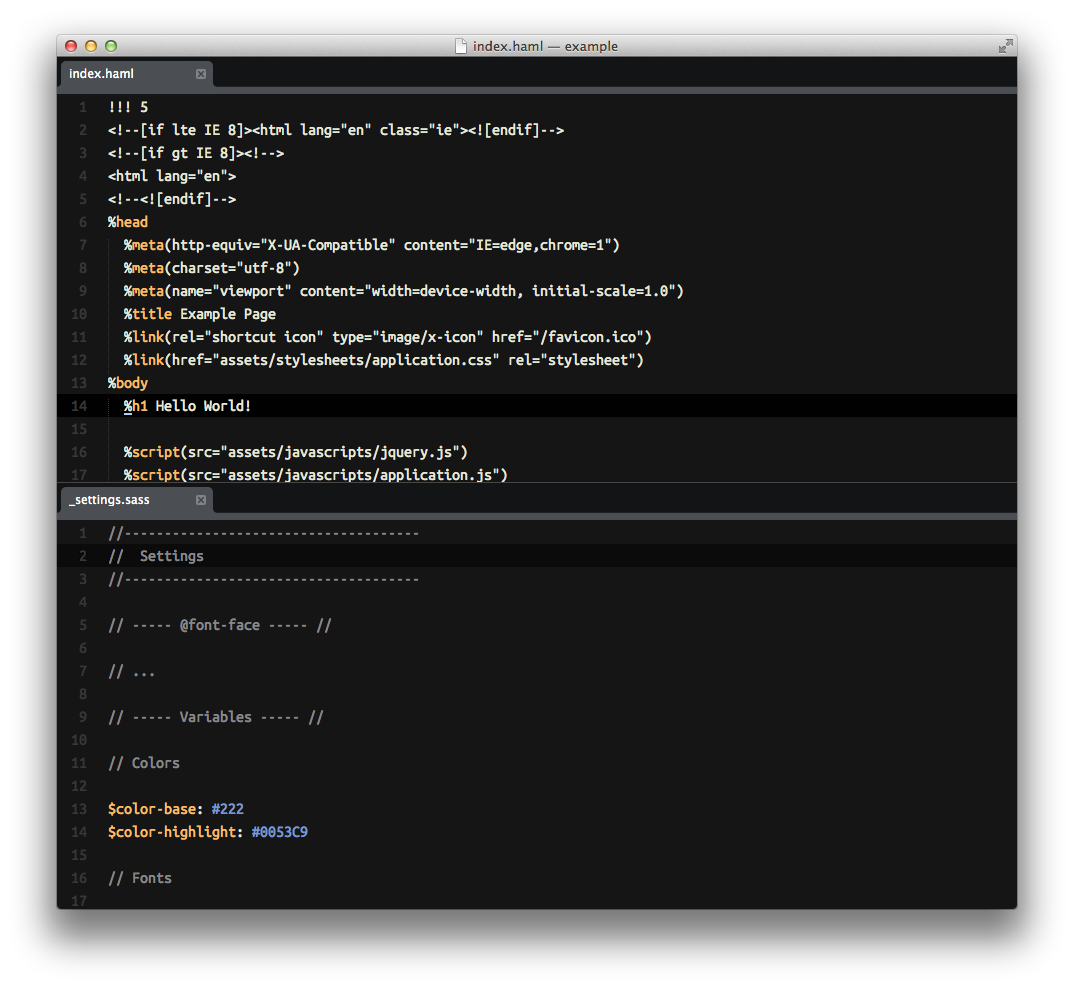 This is the Rows: 2 layout.
You can find more layout options in the View - Layout.
Snippets
Snippets in Sublime Text offer a powerful way to improve your workflow by
creating commonly-used pieces of code that you can quickly call up without
having to type a block of code repeatedly. There are plenty of snippets
available for specific languages, but you can also create your own. To do this,
go to Tools > New Snippet.... You’re presented with a template for creating
your snippet, which is pretty easy to follow along with. If you need some help,
the documentation
provides plenty of information.
If you’re a Sass + Compass, Haml, or CoffeeScript user, I’ve created some useful snippets to download.
 An example Sass + Compass snippet brought up by typing
 ssbsiz and hitting
tab.
 An example CoffeeScript snippet brought up by typing
 cfjon and hitting
tab.
The next two features (Key Bindings and Vintage Mode) are being covered, in large part, because I’m a huge fan of the keyboard. I love to do as much as I can through the keyboard, and, if you’re like me, you’ll like these next two features.
Key Bindings
With its powerful and customizable settings found in JSON files, Sublime Text
provides the abilitity to adjust virtually all its settings. This includes the
key bindings. If you’re a fan of the keyboard, you may have several os-wide
keyboard shortcuts set up, and they may conflict with some of the key bindings
in Sublime Text. If that’s the case, you can easily adjust the key bindings by
going to Sublime Text 2 > Preferences > Key Bindings - User. As always, you
can open that file via the Command Pallete. To see what the default key
bindings are (in order to change them), open up Sublime Text 2 > Preferences > Key Bindings - Default.
Just like the user settings, you’ll want to place your customized settings in
Key Bindings - User.
As an example, let’s say that you didn’t like the cmd+k,cmd+b keyboard
shortcut for toggling the visibility of the sidebar. Let’s change that.
The line in the Key Bindings - Default file for the sidebar is:
{ "keys": ["super+k", "super+b"], "command": "toggle_side_bar" }
We copy that line, add it to our Key Bindings - User file, and change the
"keys" value:
{ "keys": ["ctrl+s"], "command": "toggle_side_bar" }
Now, we can toggle the visibility of the sidebar with ctrl+s. Easy, right?
Vintage Mode
Vintage is a vi mode editing package for Sublime Text 2. It allows you to combine vi’s command mode with Sublime Text’s features, including multiple selections. – Sublime Text Website
I’m a front-end developer, but I’ve adopted the developer-esque use of the keyboard, which is why I use Vintage Mode. It allows you to use vi commands within Sublime Text. If you aren’t familiar with any of those commands, I recommend you go through a tutorial to see if it’s for you. It takes some time to get accustomed, but you’ll be much faster in your editor once you learn the commands properly.
Be sure to read the documentation on getting Vintage Mode set up.
Tips & Tricks
I’d like to offer some tips and tricks that I’ve picked up after using Sublime Text for some time.
Find in Files
Oftentimes, you need to change the class name of an HTML element that is
represented in several files across a project. Normally, this would be a
nightmare to deal with, but Sublime Text offers a common, but powerful feature
called, Find in Files. To access this feature, go to Find > Find in Files... (or cmd+shift+f on the keyboard). We’re now presented with a panel:
 The Find in Files panel.
Hit enter, and we’re presented with the results in a new tab:
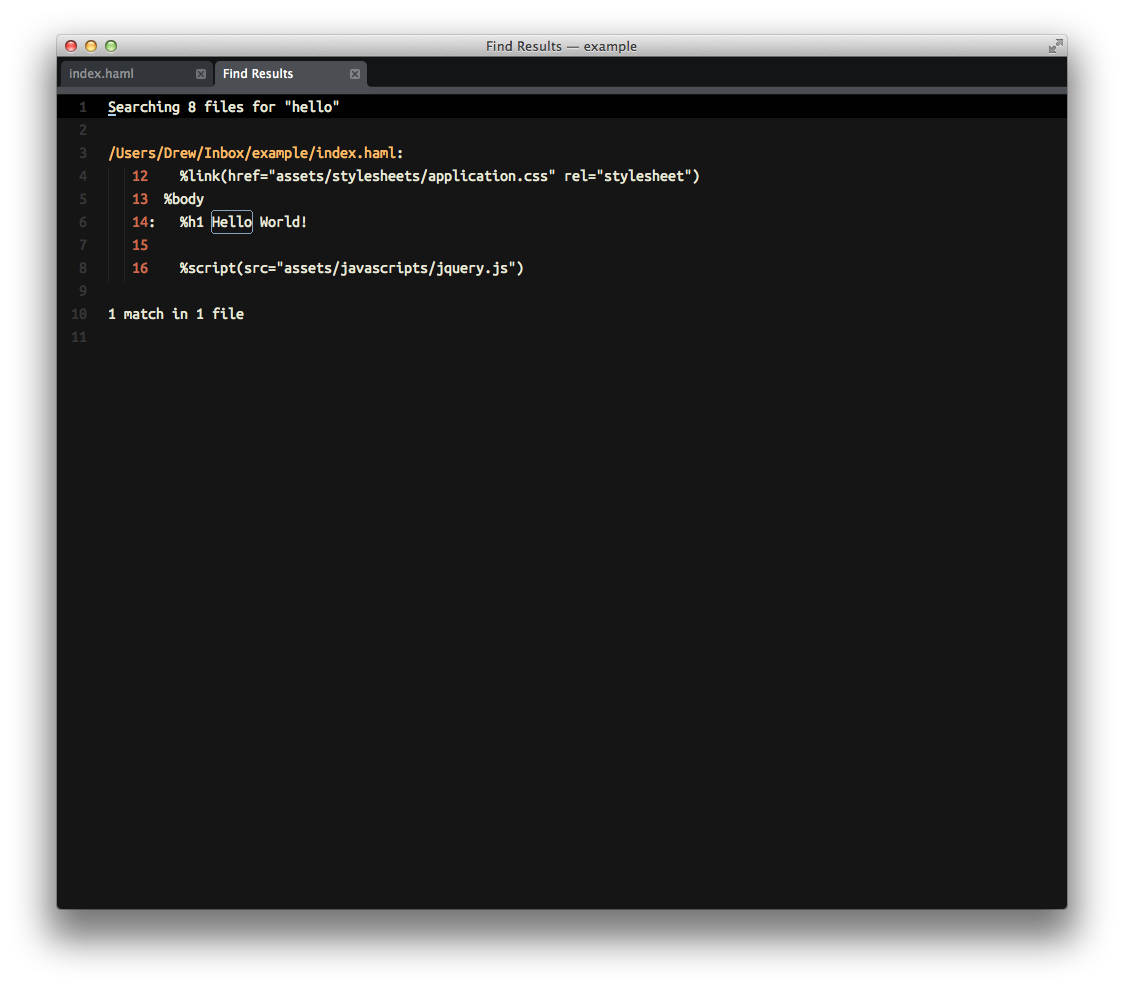 The Find in Files results page.
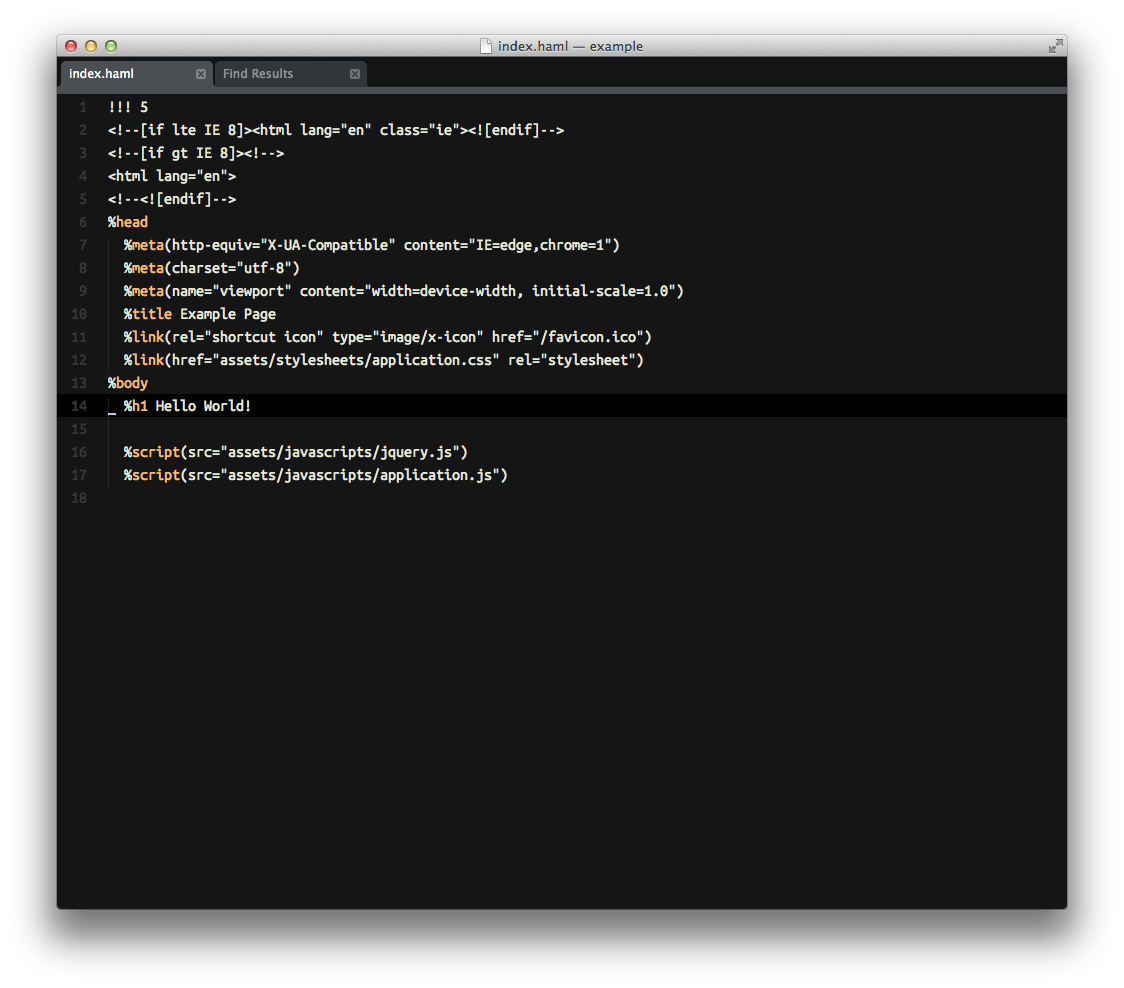
The one match is shown, and you can double-click the highlighted word to be taken directly to that line:
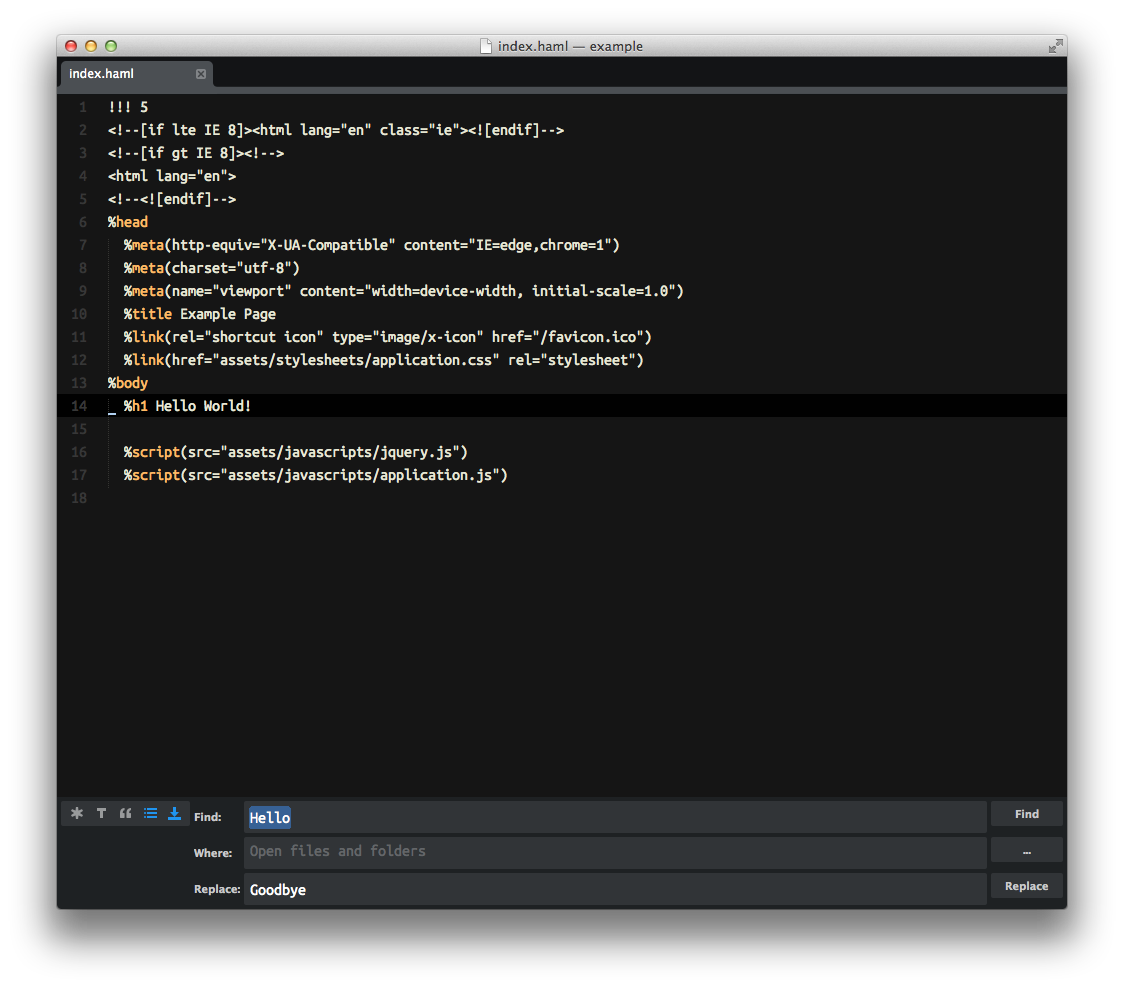
If you need to find and replace, simply type in the word you would like to replace it with, and then click Replace:
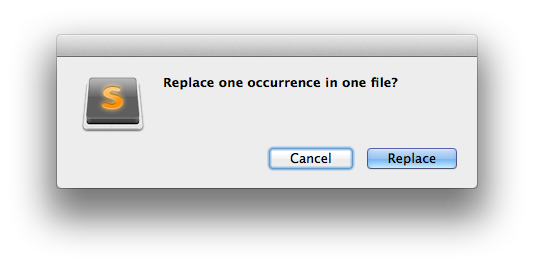
We now have our replaced word:
Now, this is a simplified example, but the concept is the same for more complex searches. It’s very beneficial for the finicky front-end developer.
Sort Lines
To alpha sort a selected block of text, select the desired block of text, and
go to Edit > Sort Lines (F5 on the keyboard), or bring up the Command
Pallete and start typing “Sort Lines.”
The Edit > Permute Lines menu option allows you to adjust the
sort order to Reverse, Unique, or
Shuffle.
Keyboard Shortcuts
I’d like to close the article with some useful keyboard shortcuts:
cmd+shift+d— Duplicate Linecmd+l— Expand Selection to Linectrl+shift+w— Wrap Selection with Tagcmd+r— Goto Symbol…cmd+shift+t— Reopen Closed Filecmd+shift+p— Command Pallete
That’s All, Folks
I know. That was a lot to read through, but hopefully it helps you get up and running with Sublime Text. I’m going to do more screencasts and posts on Sublime Text in the future, so stay tuned.